参考:
https://laravel-china.org/topics/2289
https://www.digitalocean.com/community/tutorials/how-to-install-linux-nginx-mysql-php-lemp-stack-on-centos-6
先从阿里云购买ECS主机,配置,我选择的配置是:
系统:CentOS 6.8 64bit
CPU: 1核 内存: 1024 MB 带宽:1Mbps
配置好之后系统之后,通过SecureCRT远程登录到系统,开始进行我们的Laravel环境搭建,我搭建的是LNMP(Linux,Nginx,Mysql,PHP 7)
本文全部采用yum安装。
安装最新的Nginx
修改yum源
进入 /etc/yum.repos.d/目录,创建一个nginx.repo文件
cd /etc/yum.repos.d/

vim nginx.repo
写入源内容:
[nginx]
name=nginx repo
baseurl=http://nginx.org/packages/centos/$releasever/$basearch/
gpgcheck=0
enabled=1
更新yum源:
yum update
使用yum安装nginx:
yum install nginx -y
安装好之后查看版本:
[root@localhost] # nginx -v
nginx version: nginx/1.10.1
打开nginx开机自启动:
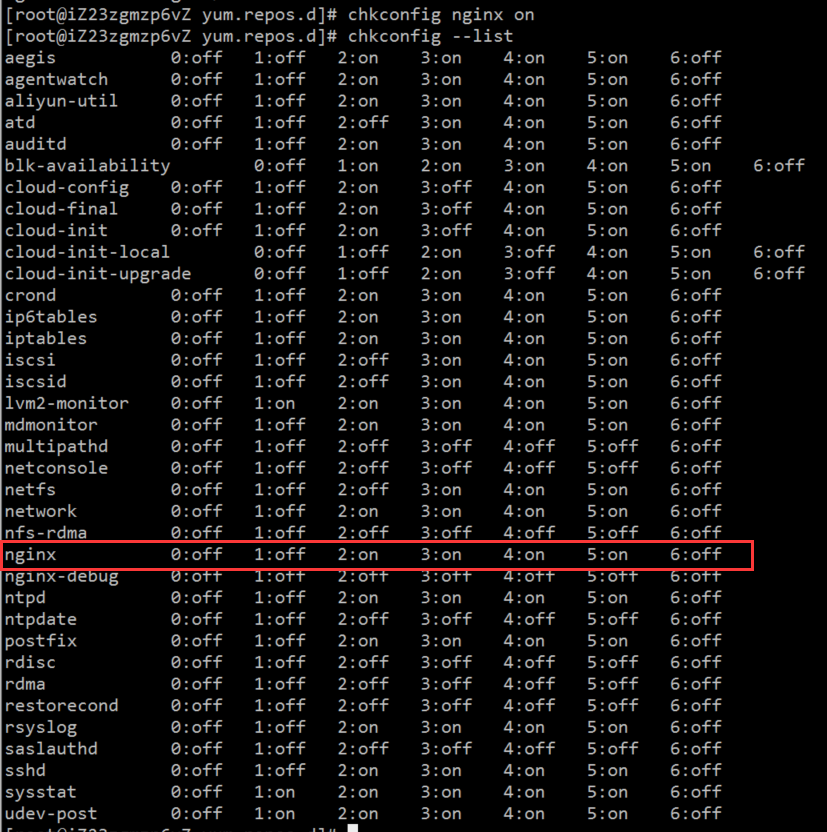
chkconfig nginx on
可以查看下我们的开机自启动服务项,我们会发现Nginx在其中:
安装Mysql 5.7
更新及安装mysql yum源
官网下载源码包:
cd ~
wget http://dev.mysql.com/get/mysql57-community-release-el6-7.noarch.rpm
rpm安装mysql:
rpm -Uvh mysql57-community-release-el6-7.noarch.rpm
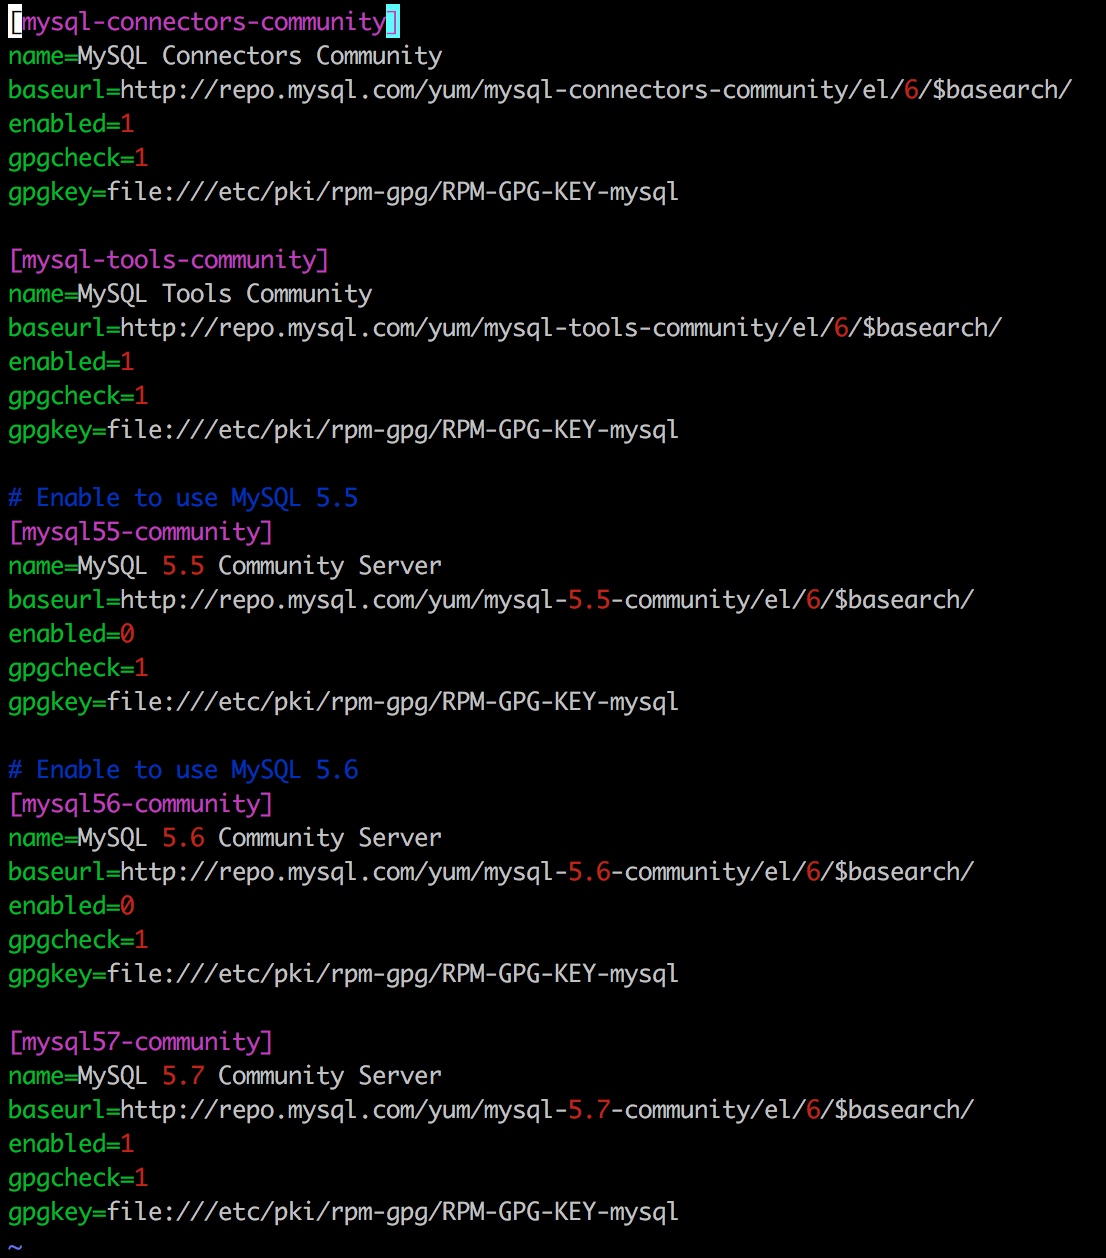
打开mysql-community.repo看到关于mysql的内容,确定mysql57的enable是打开的。
vim /etc/yum.repos.d/mysql-community.repo
安装mysql服务
执行安装mysql命令
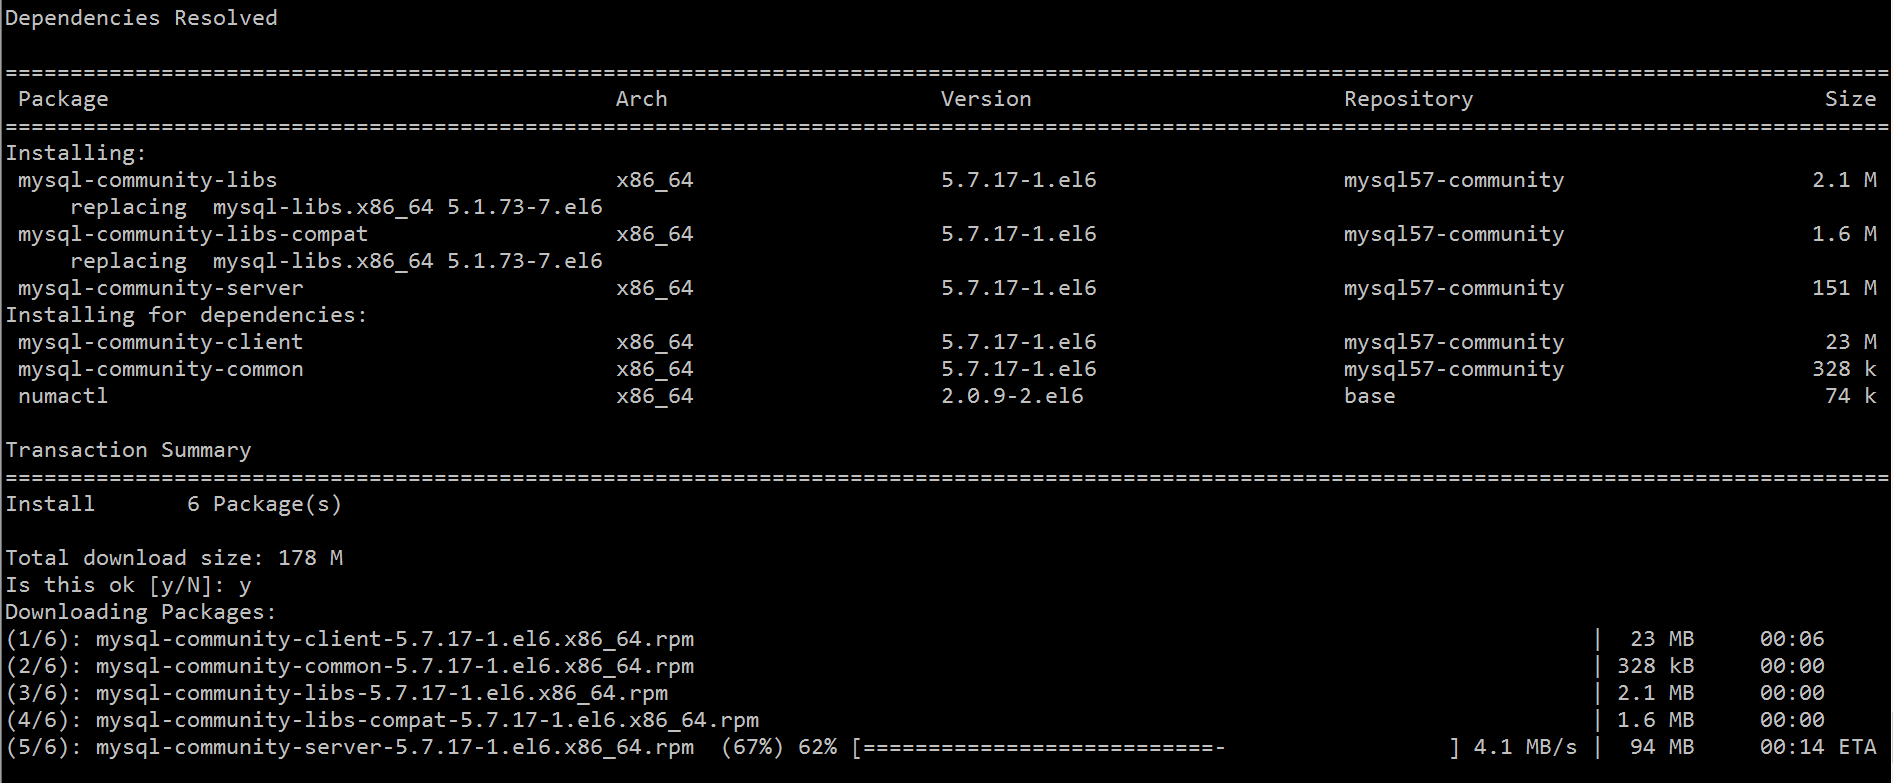
yum install mysql-community-server
确认好版本没问题,是mysql57,就可以按y回车安装了,如下图:
完成安装后启动服务
service mysqld start
启动后,查看安装自动生成的密码:
grep "password" /var/log/mysqld.log
第一行就是我们的mysql的root密码了
修改初始化密码
执行命令:
mysql_secure_installation
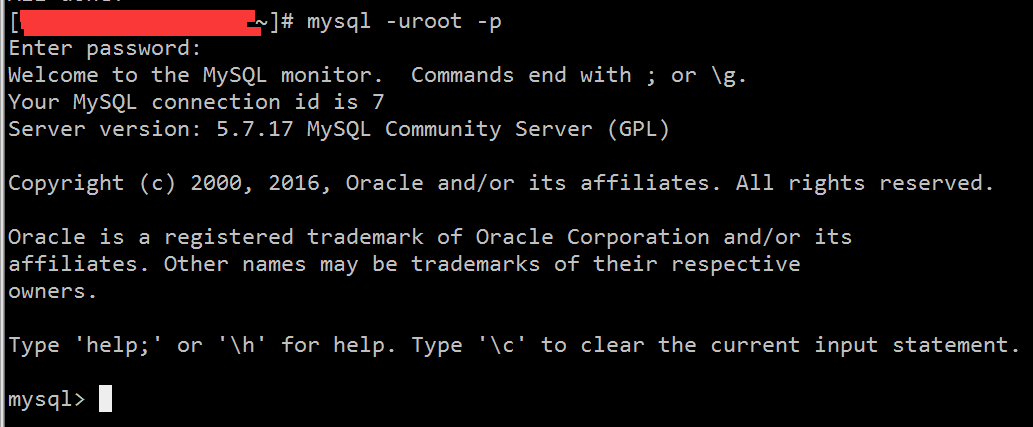
登录验证下刚刚修改的密码是否可用:
mysql -uroot -p
mysql的配置文件默认在/etc/my.cnf
更多文档参考请查看:Installing MySQL on Linux Using the MySQL Yum Repository
打开mysql自启动:
chkconfig mysqld on
安装PHP 7
处理有php及php扩展:
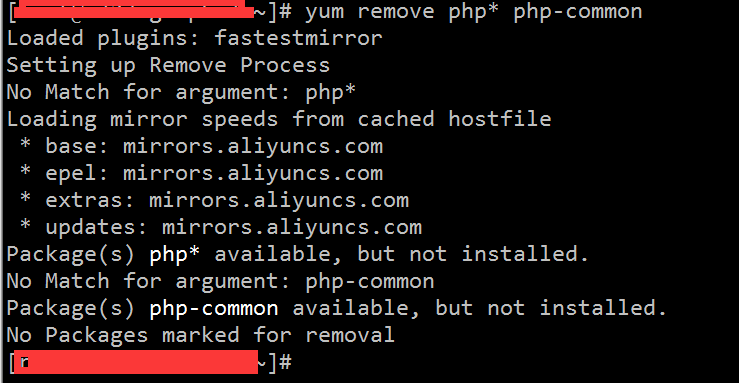
如果之前安装过php的话,要先清理下:
yum remove php* php-common
安装PHP 7 yum源:
与上面安装nginx,mysql的方式一样,先更新yum源,然后再安装yum源。
wget http://dl.fedoraproject.org/pub/epel/6/x86_64/epel-release-6-8.noarch.rpm
wget http://rpms.famillecollet.com/enterprise/remi-release-6.rpm
rpm -ivh epel-release-6-8.noarch.rpm
rpm -ivh remi-release-6.rpm
修改yum源
vi /etc/yum.repos.d/remi.repo
将[remi]段中的enabled=0改为enabled=1
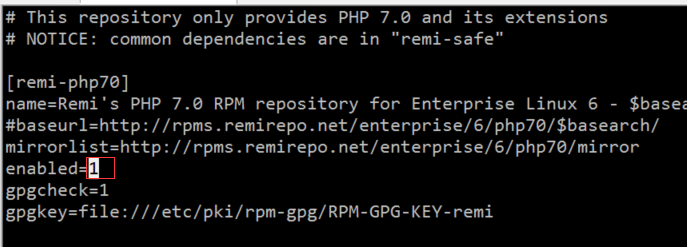
vim /etc/yum.repos.d/remi-php70.repo
与remi.repo类似,将[remi-php70]段中的enabled=0改为enabled=1
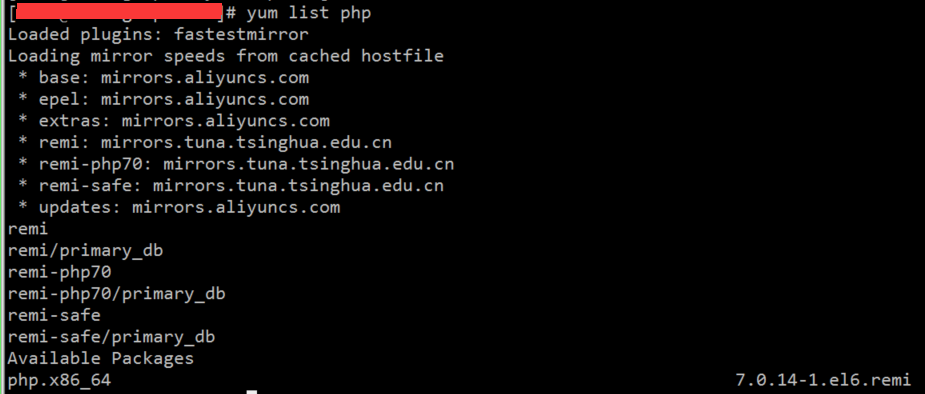
输入命令查看版本如果显示的是7.x的话就正常,也可以直接用yum install php70进行安装。
[root@localhost tmp]# yum list php
yum安装php 7
yum install php php-fpm php-cli php-pdo php-mysql php-gd php-bcmath php-xml php-mbstring php-mcrypt php-redis
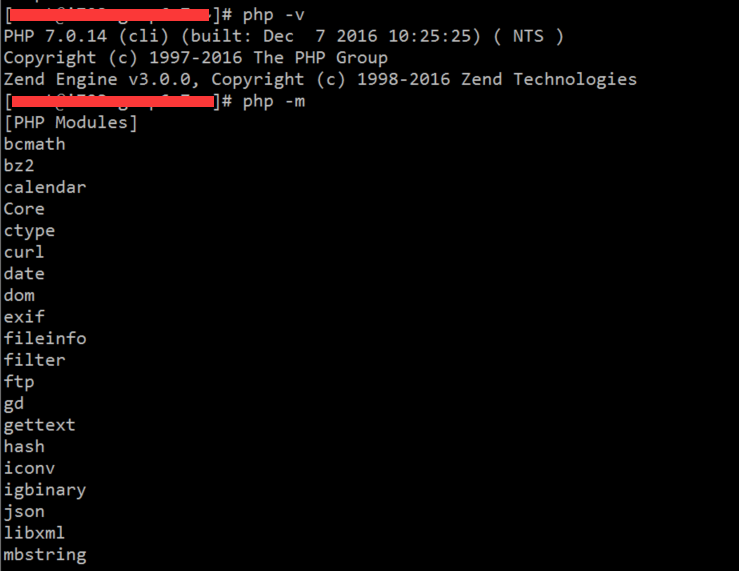
安装好之后 php -v,php -m查看版本及安装的扩展。
php的配置文件一般在/etc/php.ini文件中。
简单的一些修改配置如下:
vim /etc/php.ini

date.timezone = Asia/Shanghai
upload_max_filesize = 20M
post_max_size = 20M
display_errors = Off // 生产环境半掉就好了

# 使HTTP Header中不显示PHP信息把
expose_php = On
修改为
expose_php = Off
重启php
service php-fpm restart
打开PHP自启动:
chkconfig php-fpm on
配置Nginx与PHP
安装好nginx之后,nginx默认的网站根目录应该是在 /usr/share/nginx/html/
虚拟主机的配制在 /etc/nginx/conf.d 如果要配制新的域名在这里就可以了。
默认有一个default.conf的配制,我直接在这个上面进行修改。
由于我们是Laravel项目,下面是一个Laravel的nginx配置:
server {
    listen       80;
    server_name  localhost;

    #charset koi8-r;
    #access_log  /var/log/nginx/log/host.access.log  main;

	#配置网页目录
    root	/var/www/qadoor/public;
	#配置默认首页
    index	index.php index.html index.htm;

	#配置解析
    location / {
        try_files $uri $uri/ /index.php?$query_string;
    }

    #error_page  404              /404.html;

    # redirect server error pages to the static page /50x.html
    #
    error_page   500 502 503 504  /50x.html;
    location = /50x.html {
        root   /usr/share/nginx/html;
    }

    # proxy the PHP scripts to Apache listening on 127.0.0.1:80
    #
    #location ~ \.php$ {
    #    proxy_pass   http://127.0.0.1;
    #}

    # pass the PHP scripts to FastCGI server listening on 127.0.0.1:9000
    #
	# 配置Laravel解析规则
    location ~ \.php$ {
        try_files $uri /index.php =404;
        fastcgi_pass   127.0.0.1:9000;
        fastcgi_split_path_info ^(.+\.php)(/.+)$;
        fastcgi_index  index.php;
        fastcgi_param  SCRIPT_FILENAME  $document_root$fastcgi_script_name;
        include        fastcgi_params;
    }

    # deny access to .htaccess files, if Apache's document root
    # concurs with nginx's one
    #
    location ~ /\.ht {
        deny  all;
    }
}
配置完成之后,重启nginx服务:
service nginx restart
安装Composer:
php -r "copy('https://getcomposer.org/installer', 'composer-setup.php');"
php -r "if (hash_file('SHA384', 'composer-setup.php') === '61069fe8c6436a4468d0371454cf38a812e451a14ab1691543f25a9627b97ff96d8753d92a00654c21e2212a5ae1ff36') { echo 'Installer verified'; } else { echo 'Installer corrupt'; unlink('composer-setup.php'); } echo PHP_EOL;"
php composer-setup.php --install-dir=/usr/bin --filename=composer
php -r "unlink('composer-setup.php');"
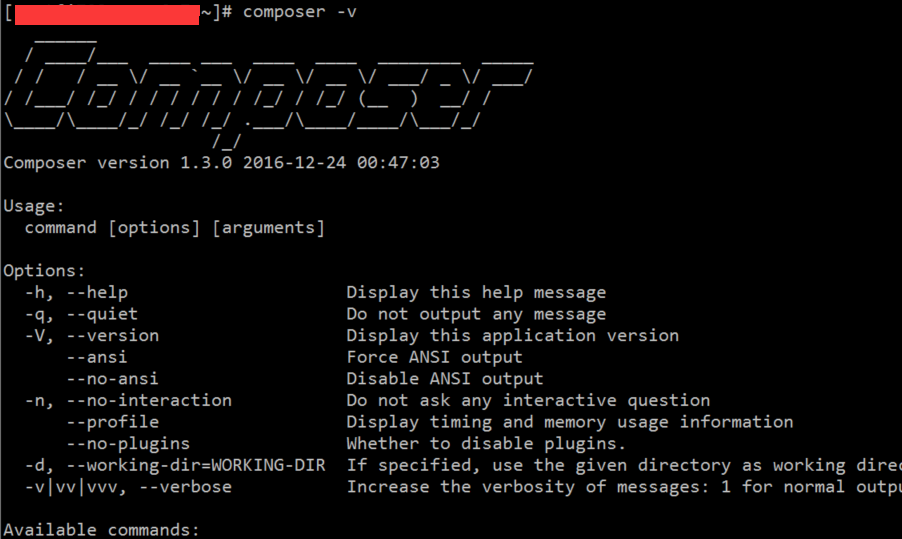
安装完成之后,测试是否完成:
composer -v
配置中国镜像:
参考:http://pkg.phpcomposer.com/
我采用全局配置方法:
composer config -g repo.packagist composer https://packagist.phpcomposer.com
完成上面这么一些环境搭建后,我们下一步就可以运行一个laravel的项目了,请参考:
http://www.jyguagua.com/?p=2683。
文章的脚注信息由WordPress的wp-posturl插件自动生成



 微信扫一扫,打赏作者吧~


